Back in February, I offered you the first part of a five-step model for revising your garden bed when light conditions change. If you missed it, read it here. Having addressed the first steps—Observe, Assess, Plan—I’ll cover the important final steps that make or break the outcome over time: installation and aftercare. These final steps are appropriate for all new planting installations.
Skimping on either installation or aftercare is a quick way to damage your investment and undermine prior efforts. Moreover, neglecting these tasks can result in ongoing problems and eventually the demise of the design. I’ll provide you with a primer that will help you understand their value.
Step 4: Installing a Resilient Design
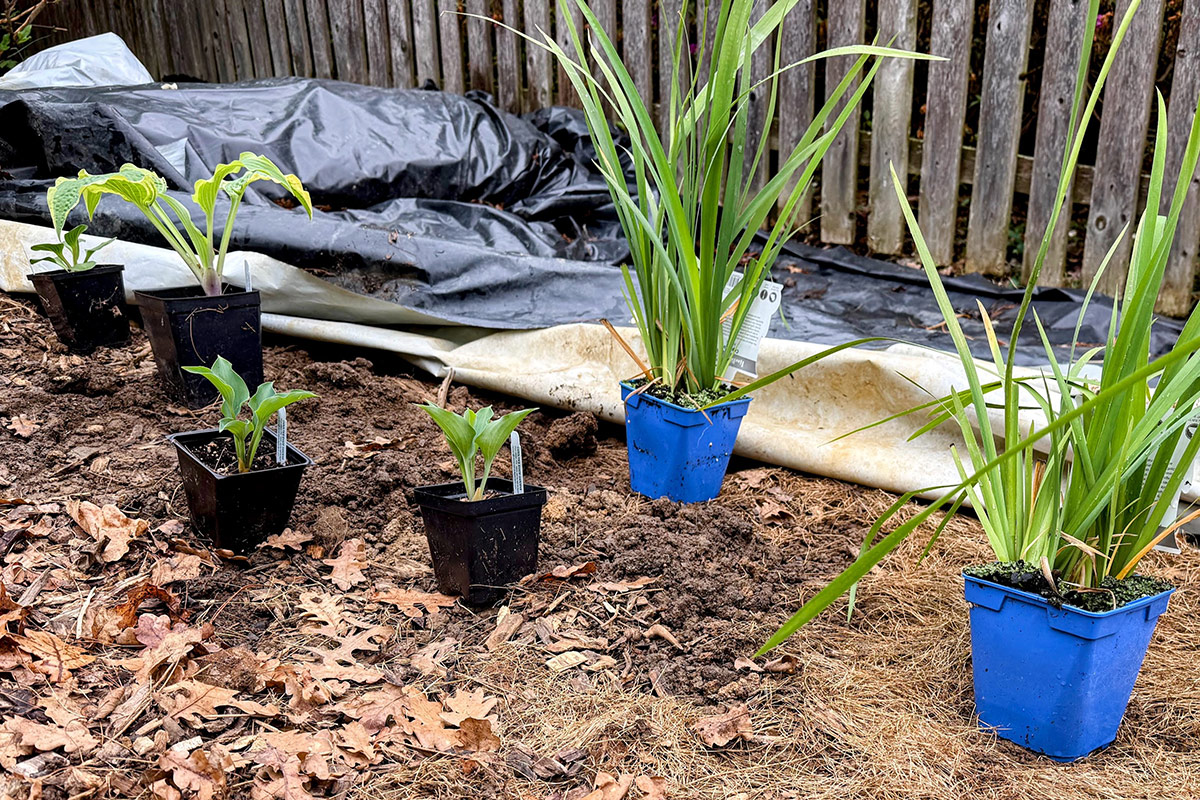
Preparing to install your new design is an important part of the overall process. Installation prep generally means four things: ensuring a clean site, having everything at hand, watering plants before planting them, and setting out plants where they will go before digging any holes (reshuffling as necessary).
If you haven’t done so before, prep your bed by removing all weeds, detritus, and plants to be relocated. If necessary, gently rake the site, but avoid disturbing the soil beyond what is required to complete the above tasks. Soil disturbance exposes weed seeds and damages the soil’s fragile texture and composition. If clearing the bed more than 24 hours in advance, try to tarp it to reduce wind-blown weed seed infiltration.
Plan your attack before you start
Grab all the tools you need, including the less obvious ones, like pruners, trugs or tarps for excess soil, something to kneel on, and boards to protect the area from compaction, and so on. Bring your plants to the site, along with any other materials such as extra compost or mulch. Lay it all out for ease of access.
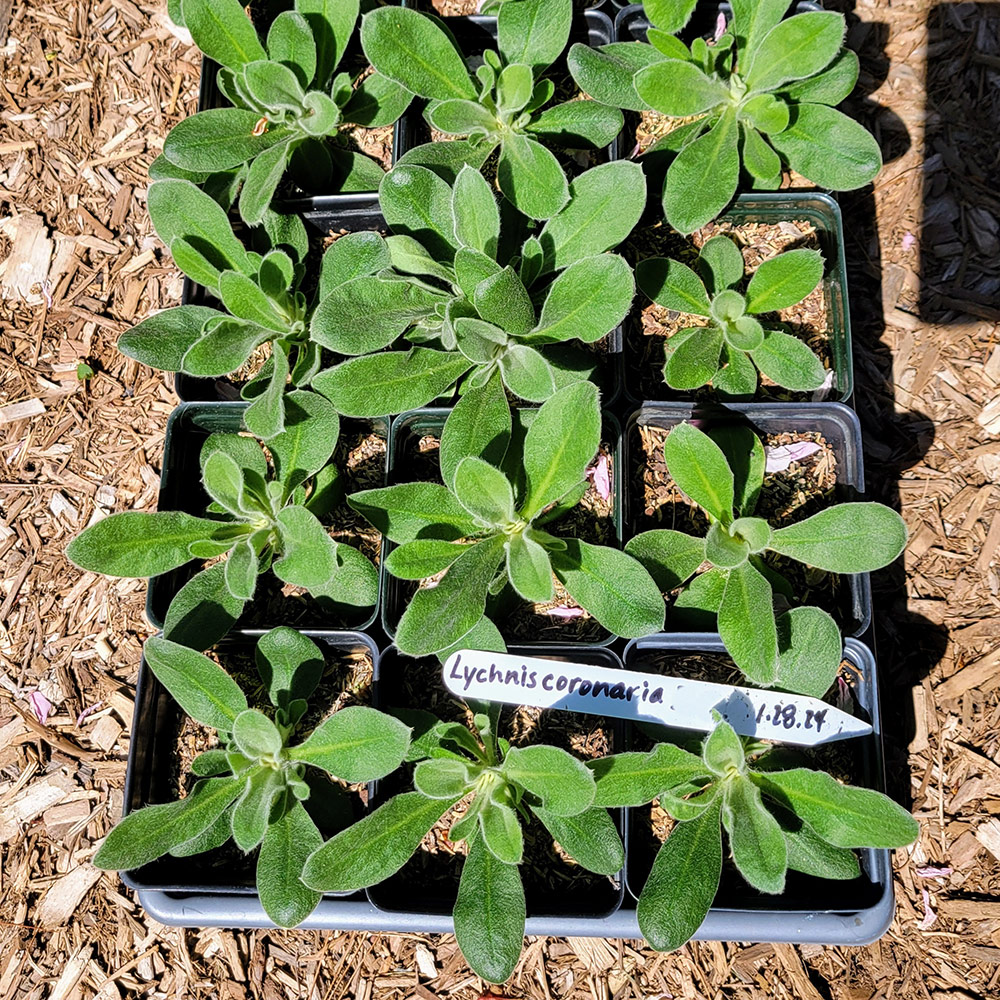
Start with well-watered plants by saturating them before planting. When watering in new plants, the existing dry ground soil is prone to soak up water before the new plant can take it in. Watering before planting ensures initial hydration. Set your plants in a tray or bucket and water directly into that, allowing the water to be absorbed from below. Avoid watering your plants from overhead, particularly over bare soil, to reduce damage to foliage.
Set out your plants where you intend to plant them, but don’t dig yet. Step back and look at your design from multiple angles. Does it still work? What works on paper rarely looks the same on the ground. Do you see anything that needs adjustment? Still, be mindful of future growth and resist the urge to fill all the inevitable bare spots that will shortly be covered by new vegetation.
The main event: planting your design
Plants are vulnerable to dehydration and stunted growth in their small pots, but even more so when their roots are exposed. Getting them properly sited in the soil needs to be a priority. Dig holes as you go, and don’t remove the plant from the pot until you’re ready. It’s easy to inadvertently shift the hole slightly when you lift the plant, so step back periodically to check for drift. It’s helpful to nudge an outline into the soil before lifting, then dig directly. Avoid piling excess soil directly on the ground, and use a small bucket or tarp scrap to prevent introducing weed seed to the surface. This also makes it easier to pour the soil back in when firming the plant. Keep another trug or wheelbarrow for unused soil. Now, water it all in, gently, at the base of the plant.
Mulch matters
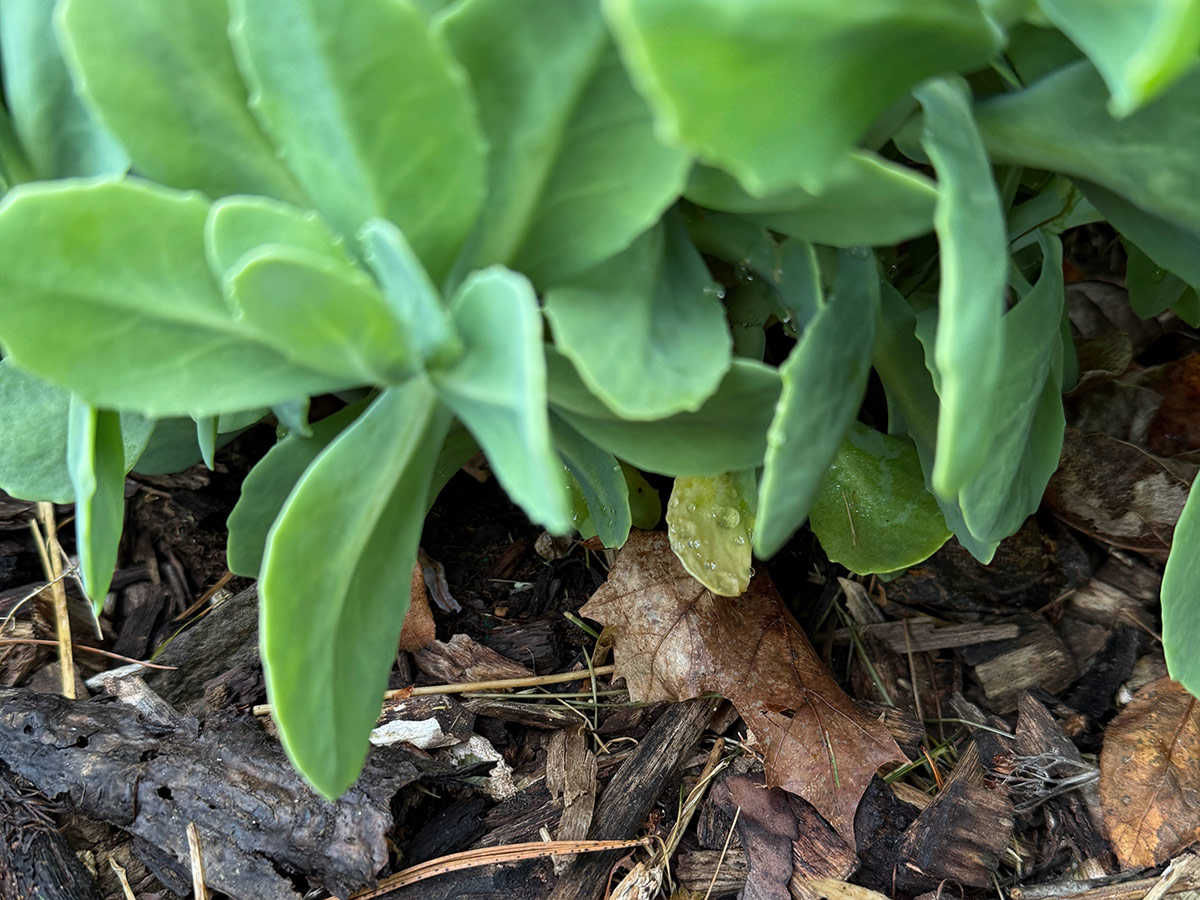
Often, you only need to add one thing to your soil during the establishment period: mulch. Mulch protects your soil from erosion, insulates it from extreme temperature fluctuations, moderates evaporation while allowing air to move freely, reduces soil-borne pathogens, provides a natural fertilizer and soil conditioner that can improve texture, and blocks the germination of competing plants. Besides watering, when establishing a new garden, putting down a layer of fine mulch or compost can help plants get off to a good start. However, not all mulches are created equal, and different types of mulch serve different purposes. Avoid chunky bark chips and choose something finer: a minimally processed, dye-free, natural material that is locally available.
It’s important to note that while mulch decreases the likelihood of weed germination during establishment, it doesn’t entirely prevent it. Putting down a layer of mulch still requires vigilance. And while mulching is useful for helping plants during the establishment period, it isn’t always necessary to mulch repeatedly; in fact, mulching the same areas year in and year out can be problematic. The goal with mulch is to use it as a transitional ground cover while your design fills in, so the soil is eventually covered with desirable growing plants, not mulch.
As a rule of thumb, 2 to 3 inches of mulch typically offers some weed suppression, but a thicker layer can interfere with plants getting water where they need it, so don’t go overboard. Water at the base of these plants until establishment—usually a few weeks to three months or more for herbaceous perennials. Shrubs and trees will need much longer supplemental watering. When establishing new planting, it’s useful to use soil moisture levels as your guide rather than adhering to rigid schedules. Still, the frequency, duration, and amount of water required for newly planted vegetation has too many variables to cover here, so check with your local independent nursery for tailored advice when you purchase your plants.
Step 5: Don’t Call It Maintenance
Using the term “maintenance” is problematic because it implies a static task, whereas plant needs change over time. Aftercare of new plantings is ongoing. Beyond proper watering, aftercare implies a commitment to pay attention and be curious about how your plants are growing to ensure their successful establishment and ultimately, the success of the design. Keep the area free of other plants that might compete with their establishment, and while that usually means weeds, it might also mean relocating a desirable self-sower.
Generally, annuals grow faster than perennials, which means they may compete for valuable space and resources with your new planting. While it’s not always problematic to include annuals interspersed with newly planted perennials, ensure ample room and water if you’re attempting to interplant with new perennials. Going back to the planning phase, plants with similar cultural requirements are more successful when grown together than when attempting to support plants sited in mismatched conditions.
Don’t be too eager to fertilize
In most cases, fertilizers, especially synthetic ones with high NPK ratings, should be avoided during planting, if ever used at all. Home soil-testing kits are often insufficient and inaccurate, so don’t rely on them for this guidance. Outdated advice to fertilize soil before planting has been revised; consider this option only if extreme deficiencies are evident after professional soil testing and analysis from a reputable lab, with clear instructions on exactly what to add and how much. Follow all application directions, and do not assume more is better—it’s not, and it will burn your plants regardless of how long they have been in the ground, not to mention potential negative impacts on soil and groundwater. Fertilizer use during the establishment period typically does far more harm than good, and ornamental plants chosen appropriately for their site rarely need this intervention at all.
Protect your investment
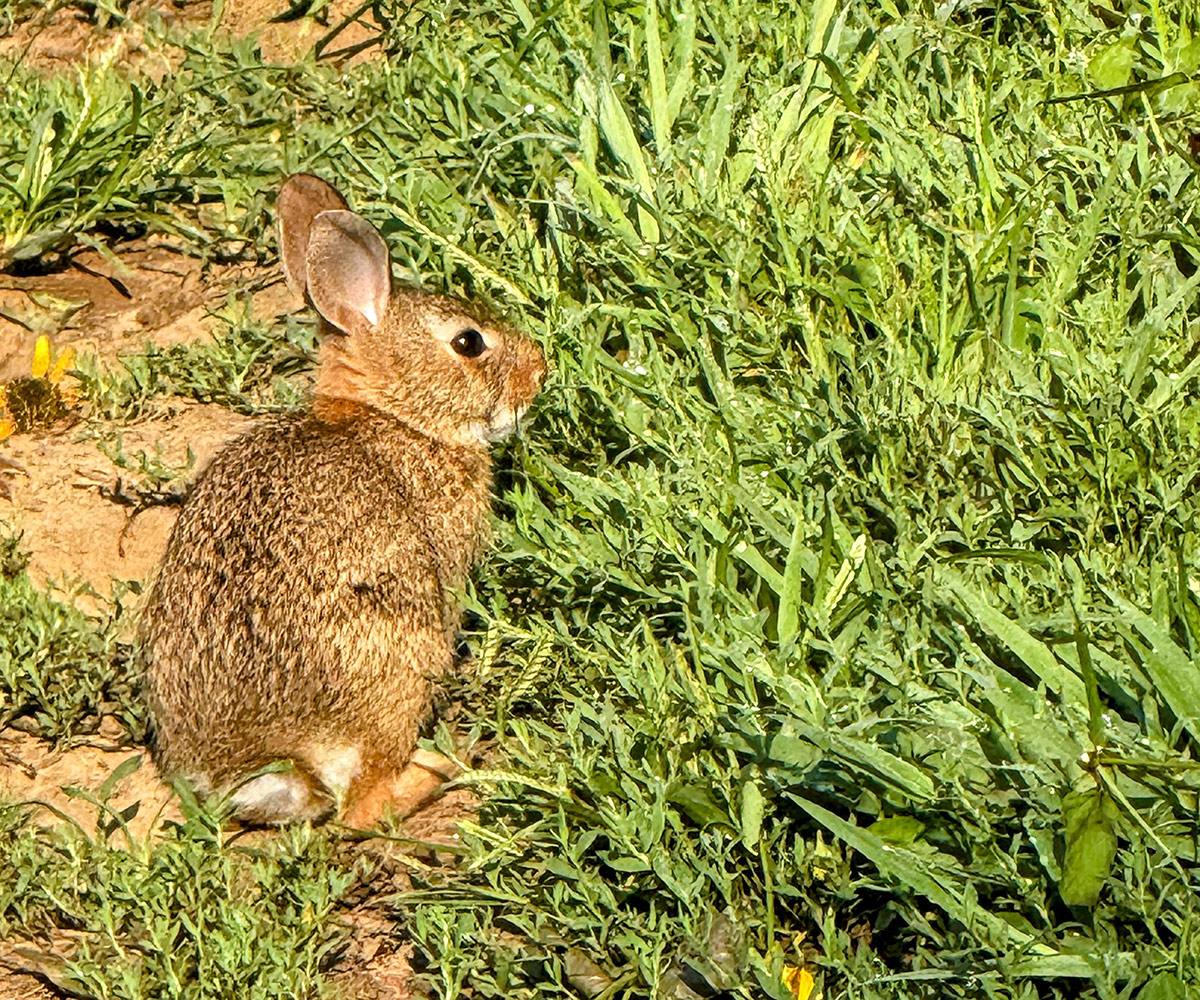
Protect your investment by thwarting herbivores. New plants are particularly susceptible to herbivore pressure. Just like you, the rabbits and deer want to enjoy fresh options, so consider temporarily fencing off new planting areas with hardware cloth or chicken wire while the plants get settled in and can develop greater resilience to being chomped. Choosing herbivore-resistant plants will also reduce, but never eliminate, damage or loss.
Monitor plants for problems such as stress and disease, but don’t assume that insect damage is inherently problematic. Instead, get help from an expert when you need it: reputable online sources, an independent garden center, a professional gardener, or a state extension agent. Establishing a new bed can be a bit of work, but time invested in planning, proper installation, and appropriate aftercare ensures the greatest likelihood of a successful, enduring design.
Find more advice on establishing and maintaining a new garden:
Discuss this article or ask gardening questions with a regional gardening expert on the Gardening Answers forum.
And for more Northeast regional reports, click here.
Heather Tuckman owns Resilient Ground Design in Southeastern Pennsylvania and is a graduate of the London College of Garden Design.
Photos: Heather Tuckman
Fine Gardening Recommended Products
Burpee Organic Coconut Coir Concentrated Seed Starting Mix, 16 Quart
Fine Gardening receives a commission for items purchased through links on this site, including Amazon Associates and other affiliate advertising programs.
ORGANIC COCONUT COIR: Made from recycled coconut husks, coir is a light, sustainable growing medium that holds the perfect amount of moisture for starting seeds. 100% biodegradable soil alternative. Environmentally friendly and a renewable alternative to peat moss. OMRI listed and certified organic. IDEAL GROWING MIX: Improve seed germination and root growth with this premium coconut fiber mix, which improves nutrients absorption! Great for flower, vegetable, herb, and more plant types. OMRI listed. Naturally disease and pathogen resistant, it will help you grow healthy live plants. EASY TO STORE & EXPAND: Each compact coconut coir brick expands into 8 quarts of seed starting mix, providing 16 quarts total. Just add water to expand! Dehydrated bricks save space until planting. Once expanded, coconut coir provides a quality growing medium for all types of plants—indoor plants, house plants, outdoor plants, and more! NATURALLY CONSERVES WATER: Renewable coco coir has excellent moisture retention and better air circulation than peat. This eco-friendly, premium seeds starting mix combines well with other potting soil and compost for container plants & raised beds. 100% GUARANTEED: Burpee is committed to the success of all gardeners. We treat each order with care to ensure healthy seeds, plants, soil mixes, and gardening supplies are sent in excellent condition. If you are unsatisfied with your purchase, we aim to make it right!
Razor-Back Potato/Refuse Hook
Fine Gardening receives a commission for items purchased through links on this site, including Amazon Associates and other affiliate advertising programs.

SHOWA Atlas 370B Nitrile Palm Coating Gloves, Black, Medium (Pack of 12 Pairs)
Fine Gardening receives a commission for items purchased through links on this site, including Amazon Associates and other affiliate advertising programs.
Lightweight and close-fitting for excellent dexterity. Machine washable. Breathable back of hand to reduce perspiration. Designed for easy movement and continuous wear. Ideal for aerospace, assembly, automotive, construction, final fix, gardening, manufacturing, operating machinery, packaging, precision handling, tiling, warehousing.