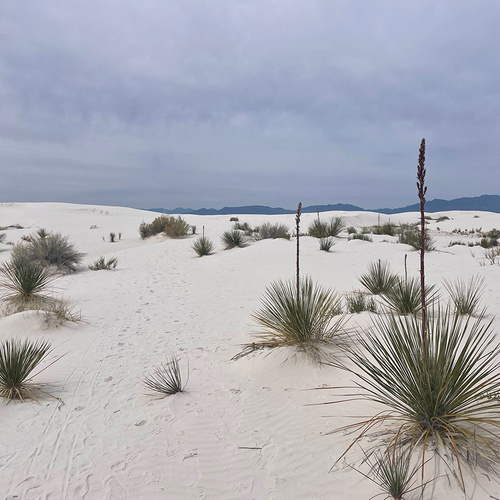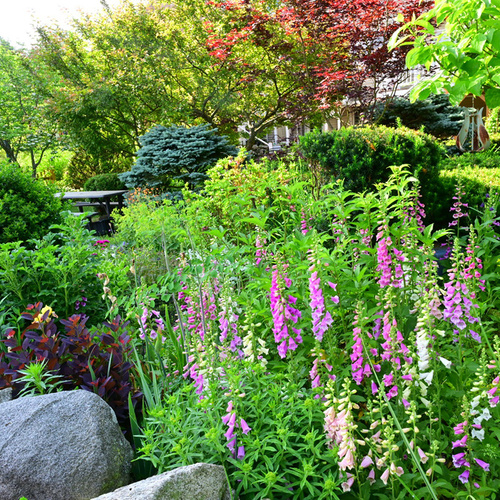

The trend toward more naturalistic gardens is on the rise, but not everyone has the space for a wild meadow or expansive native borders. And gardeners who do have abundant space for naturalized designs still have to contend with areas that require compact and potted plantings, like porches and patios. When you’re looking to keep your garden rooted in a naturalistic aesthetic but don’t have the space for your plants to grow wild and large, a fern table might be the perfect solution.
Built on a flat surface, fern tables are designed to mimic the forest floor and can be as large or small as you have room for. You can opt for a container size to bring a slice of nature to a seating area or go big and make a long table of woodland gems the focal point of your shade garden. The following fern table recipe can be scaled up to any size you require and will still look right at home in any Pacific Northwest garden.
A flat surface and chunky soil make a solid base
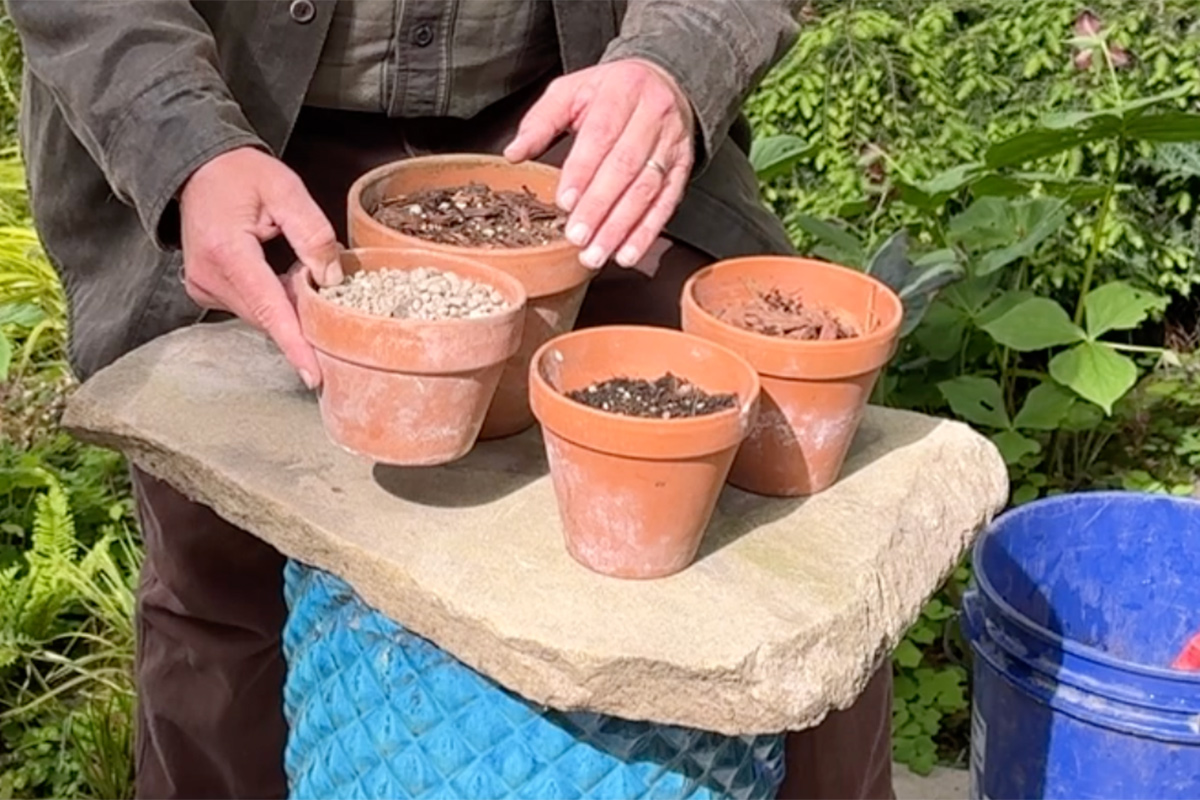
Your fern table vessel can be just about any flat surface. A leftover tile from a patio project works just fine, as well as a shallow bowl or tray. You can scale up to a large table or platform, and consider that a larger surface will be easier to work with than a smaller one. Any smaller than about 12 by 12 inches will dry out too fast. And there is no need to drill drainage holes; water will run right off the surface.
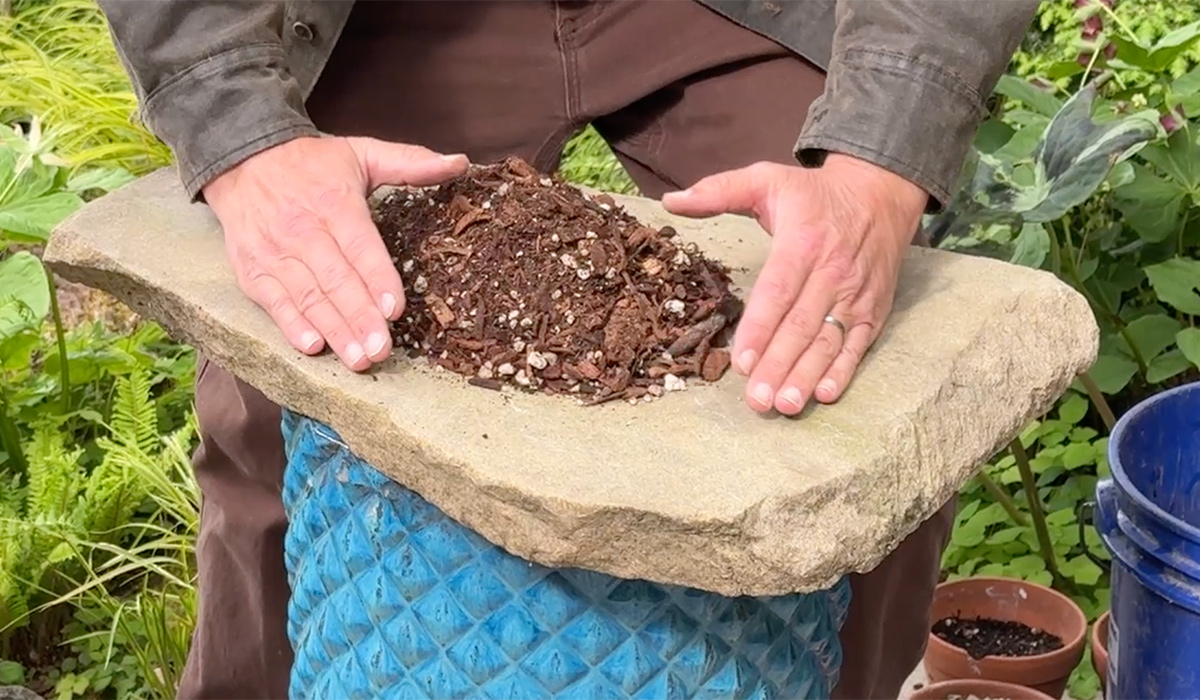
On top of your vessel, you want to pile a good chunky soil mix. There are several chunky soil mixes you can purchase from garden centers, but it can be much more economical to mix up your own blend. This is a good recipe to follow:
- 2 parts bark
- 1 part compost
- 1 part pumice
If you can’t get your hands on pumice, anything that will loosen up the soil—like pea gravel—will work in this recipe. The one caveat would be perlite, which is so lightweight that it has a tendency of rising to the top of the soil. While this is fine in a typical container, those flecks of white will break the illusion of a forest floor that the fern table is striving for.
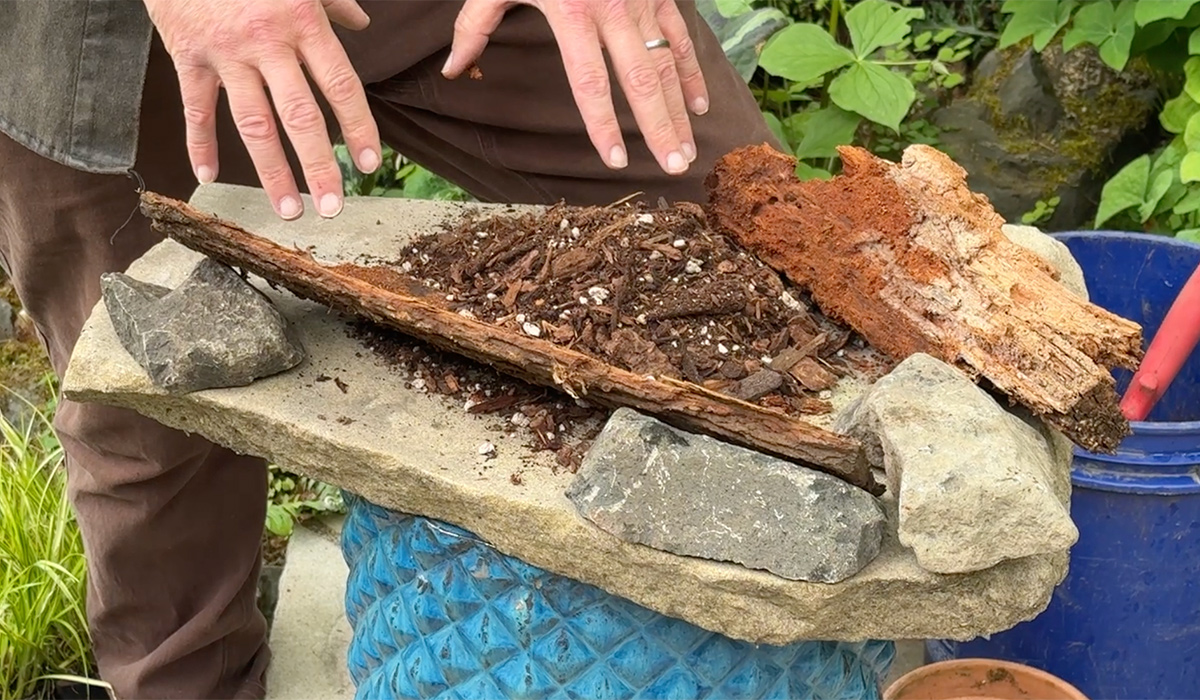
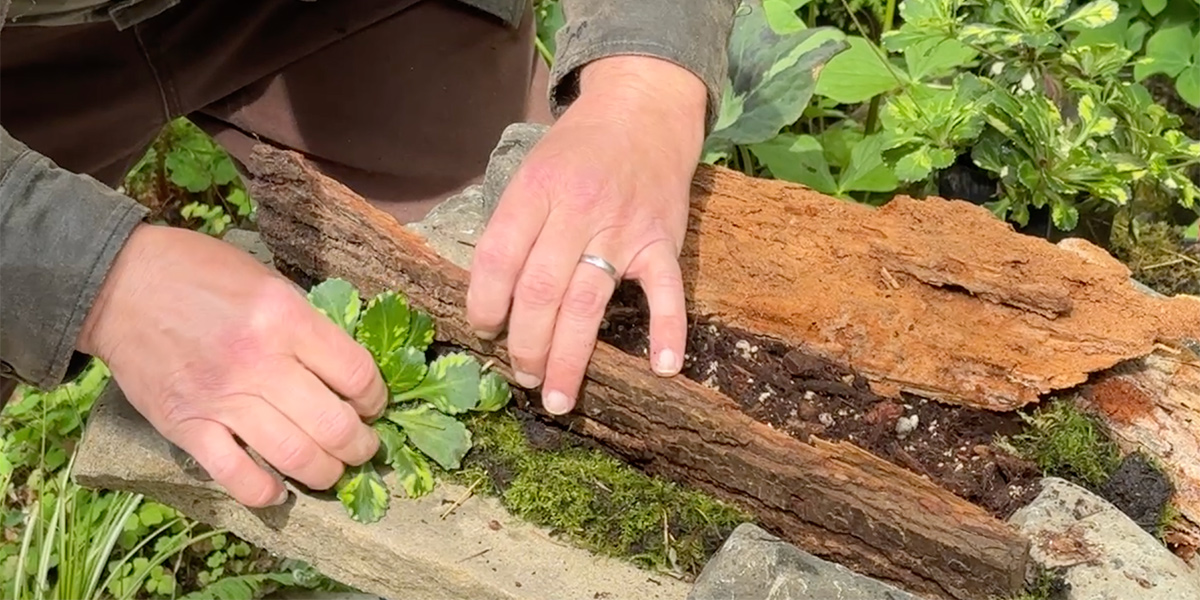
To keep your soil in place, create an edge with small rocks and small pieces of wood. Chunks of bark and segments of branches are great options for a natural-looking edge. Keep in mind that the wood edge will decay and deteriorate over time, so those pieces will need to be replaced every few years.
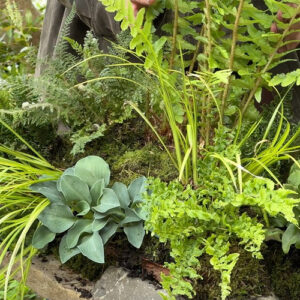
Moss and small spreaders fill in holes
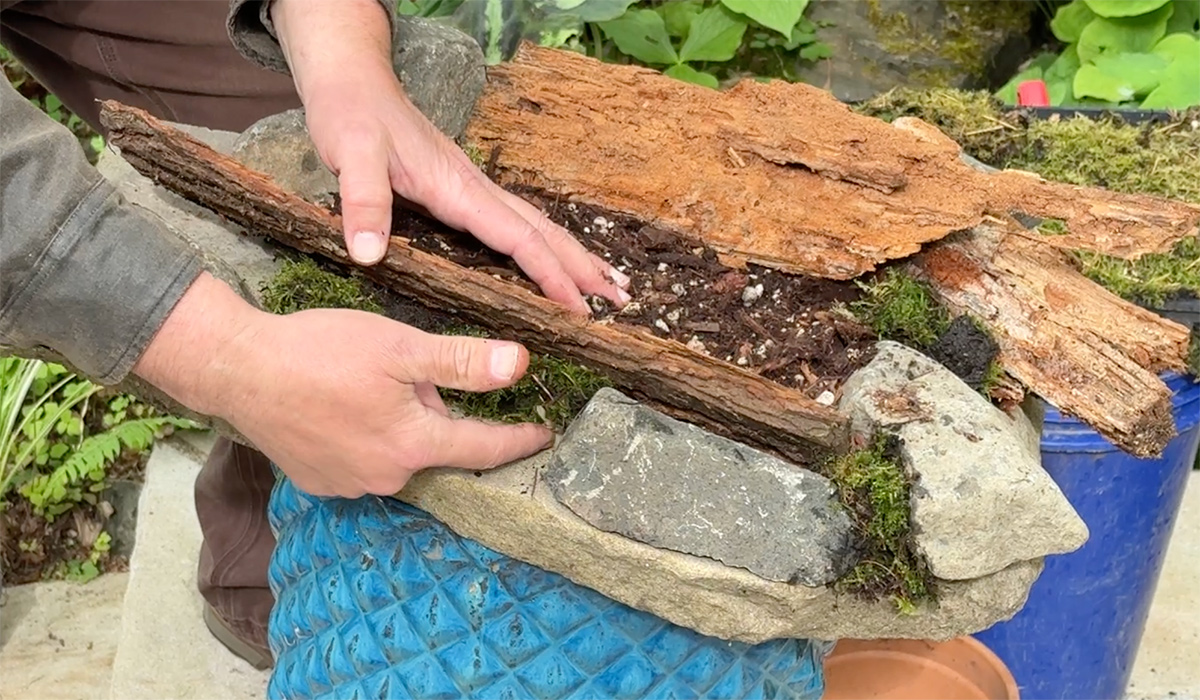
Just like the forest floor we are imitating, a fern table is most successful when built in layers. As you place rocks and wood pieces on and around the soil, pockets will form in your design. These pockets are a great spot for placing one of the Pacific Northwest’s most abundant natural resources: moss. If moss grows naturally in your garden, you can harvest small amounts and tuck it into these holes and pockets. The moss also helps to hold the soil together and regulate moisture.
Along with moss, other small-crevice and ground-cover plants that grow well in the shade will look great filling in holes and cascading over the edge. Here are just a handful of examples:
- Wild stonecrop (Sedum ternatum, Zones 4–8)
- Cliff stonecrop (Sedum glaucophyllum, Zones 5–10)
- Creeping saxifrage (Saxifraga stolonifera, Zones 6–9)
- Mossy saxifrage (Saxifraga × arendsii, Zones 5–7)
- Dwarf London pride (Saxifraga umbrosa ‘Primuloides’, Zones 7–10)
Shade stars are fern table focal points
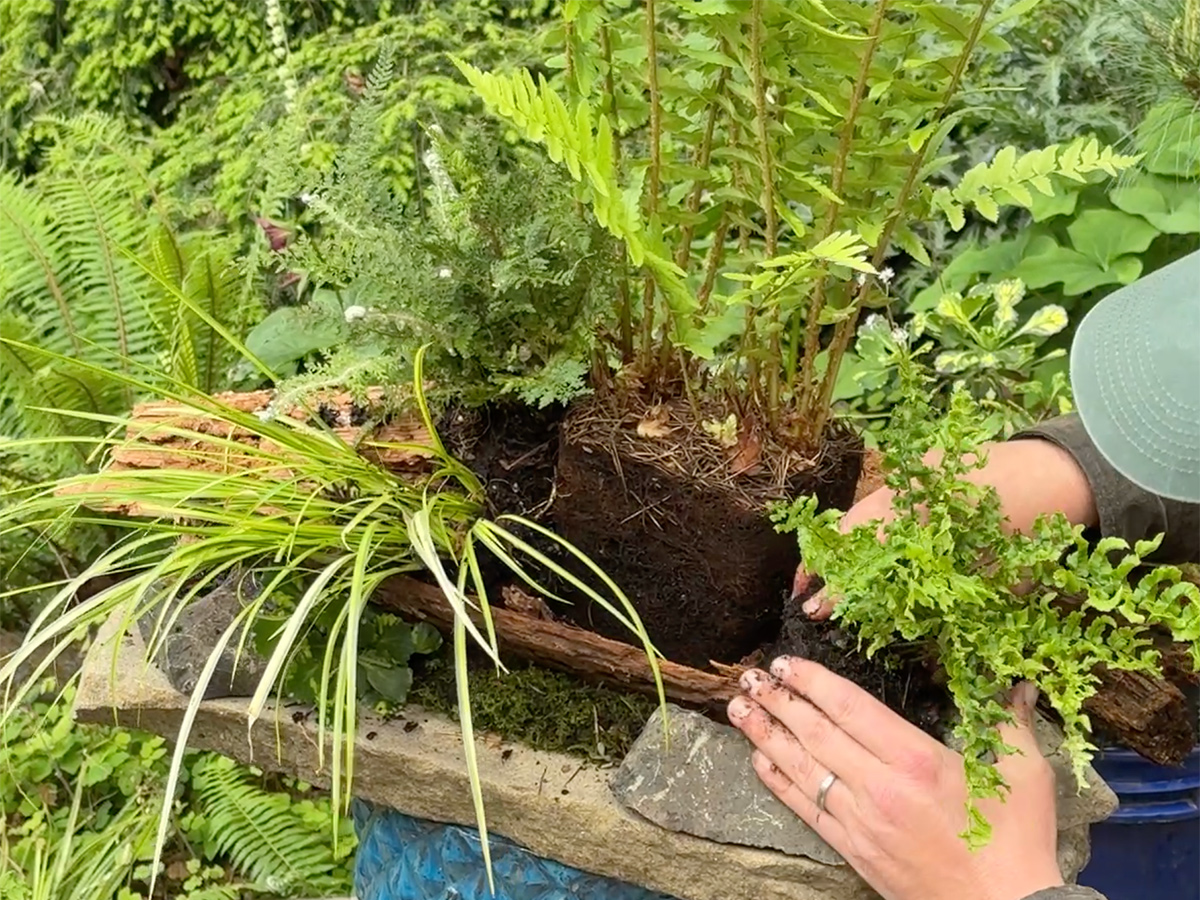
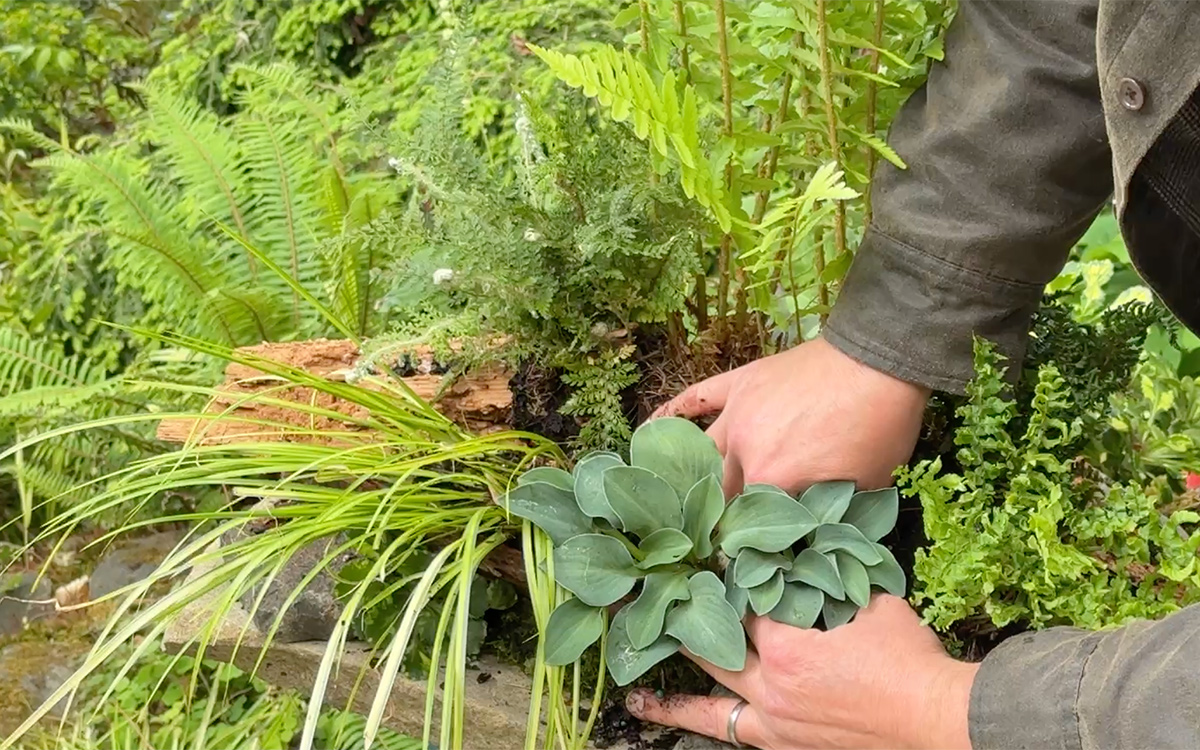
Before getting too carried away with smaller plants, it’s time to incorporate the focal points of the design. There are a multitude of ferns that look fabulous in these arrangements, but you can also include and experiment with other compact woodland plants like hostas, acorus, carex, dwarf chamaecyparis, heuchera, and brunnera. As you select and place your plants, keep in mind that more variation and contrast will make a more interesting design. An exciting palette of plants might include:
- ‘Blue Mouse Ears’ hosta (Hosta ‘Blue Mouse Ears’, Zones 3–8)
- Sweet flag (Acorus calamus, Zones 4–10)
- Felt fern (Pyrrosia lingua, Zones 6–10)
- Northern maidenhair fern (Adiantum pedatum, Zones 3–8)
- Deer fern (Struthiopteris spicant syn. Blechnum spicant, Zones 5–8)
Even if your fern table is small, a multitude of plants can be piled together. There should be no exposed soil and no crevices left unfilled, so don’t be afraid to turn plants sideways or divide plants that don’t mind a bit of manipulation. A little bit of squeezing and squishing root systems together is also helpful in this process. Once all your plants are in place, be sure to cover any exposed roots with more moss.
Fern table maintenance
From late spring to late fall, your fern table will need some supplemental watering, usually about three times a week to keep the soil moist. During periods of excessive heat and drought, watering daily may be necessary. You can also opt to add drip irrigation, especially if your fern table is large. You will also want to occasionally use a slow-release fertilizer that can be applied by lifting up a rock or piece of wood.
Over time, even the most compact plants can outgrow your fern table while others might need a refresh after a period of prolonged heat. Thankfully, there is no need to start from scratch, and this only presents new opportunities to swap in something new. You can also make your fern table a seasonal display, swapping in tender plants during the warmer seasons and including ornamental hole-fillers—like gourds and evergreen cuttings—during fall and winter. You will quickly find that the only limit to your fern table is your creativity.
Find more information on naturalistic designs:
Discuss this article or ask gardening questions with a regional gardening expert on the Gardening Answers forum.
And for more Pacific Northwest regional reports, click here.
Susan Calhoun is the owner of Plantswoman Design in Bainbridge Island, Washington.
Photos: courtesy of Susan Calhoun
Fine Gardening Recommended Products
Gardener’s Log Book from NYBG
Fine Gardening receives a commission for items purchased through links on this site, including Amazon Associates and other affiliate advertising programs.
This weatherproof five-year log book includes the following features:
· Sturdy waterproof cover to protect pages from rain and muddy soil
· Lined pages and gridded paper for plotting beds
· Five years of 12-month bloom and harvest grids for recording what you planted and when
· Authoritative appendices on composting, pruning, pest and disease control, and container gardening
· Useful reminders by season on fertilizing, mulching, and transplanting
· Space for listing your favorite sources and suppliers.

Planting in a Post-Wild World: Designing Plant Communities for Resilient Landscapes
Fine Gardening receives a commission for items purchased through links on this site, including Amazon Associates and other affiliate advertising programs.
Featuring gorgeous photography and advice for landscapers, Planting in a Post-Wild World by Thomas Rainer and Claudia West is dedicated to the idea of a new nature—a hybrid of both the wild and the cultivated—that can nourish in our cities and suburbs.

Buffalo-Style Gardens: Create a Quirky, One-of-a-Kind Private Garden with Eye-Catching Designs
Fine Gardening receives a commission for items purchased through links on this site, including Amazon Associates and other affiliate advertising programs.
Buffalo-Style Gardens is a one-of-a-kind, offbeat garden design book that showcases the wildly inventive gardens and gardeners of Buffalo – and offers readers “the best of the best” ideas to use in their own small-space gardens.