
From iconic Japanese designs to the alpine rockeries of English estates, rock gardens have a long history in the landscape. While styles and applications vary from one location to another, all rock gardens capture the stunning contrast between solid, structural stone and textural plant foliage. In the Southwest, rock gardens can be used to overcome a variety of landscape challenges, from poorly drained soil to flat, featureless properties, while adding their unique beauty to any site. Here we apply rock garden design strategies to slopes, providing both stabilization and expanded planting areas.
Identify Your Goal and Style of Rock Garden
Stone can be used in a variety of ways to stabilize slopes. Uniformly sized boulders or cut stones can be laid to create terraces that step down a slope. This approach takes on a rather formal aesthetic and can be used to create relatively level planting beds. A more natural approach works to mimic organic outcroppings of stone.
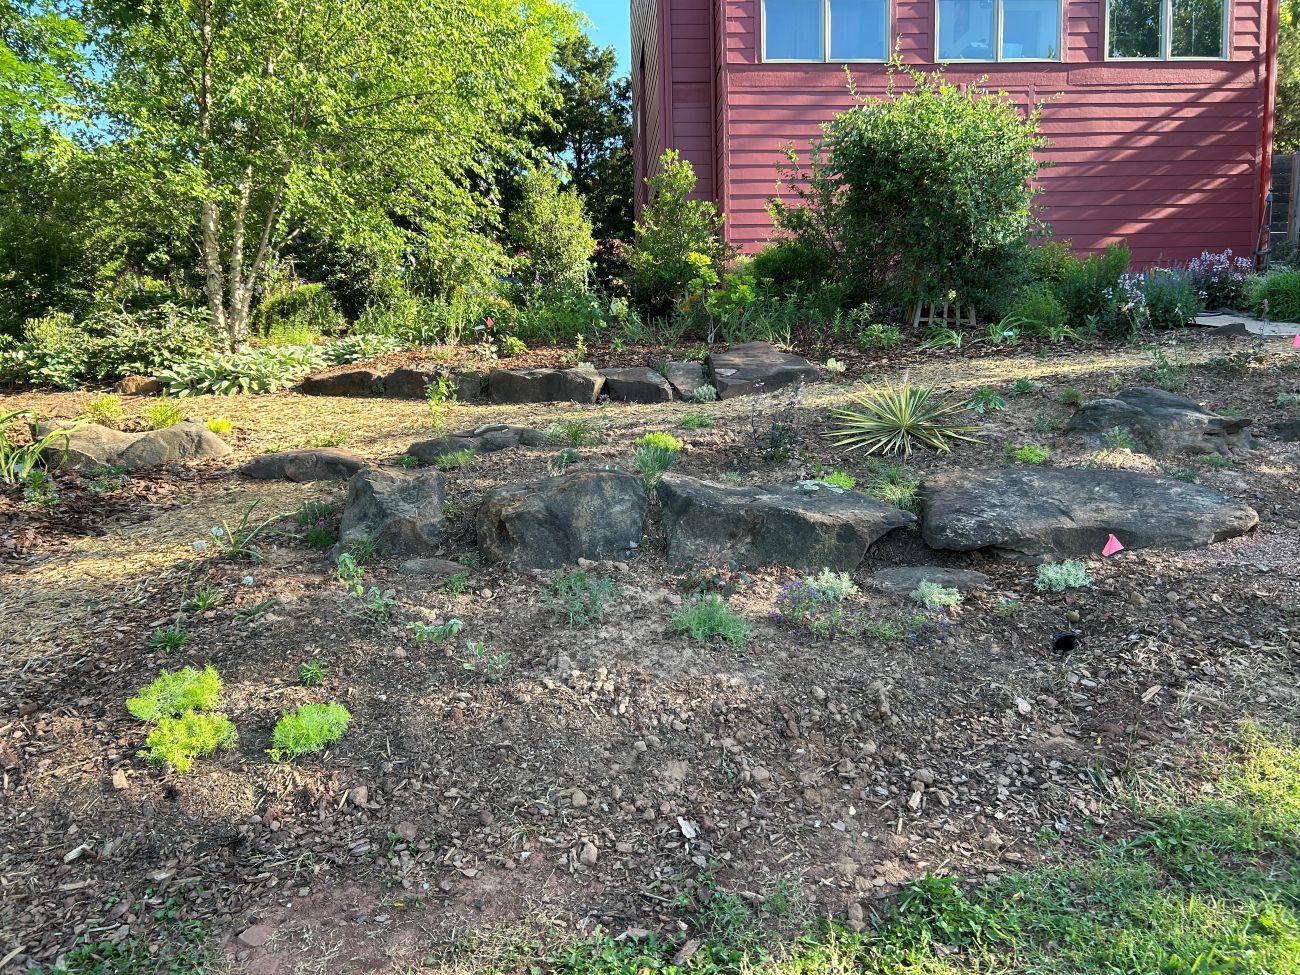
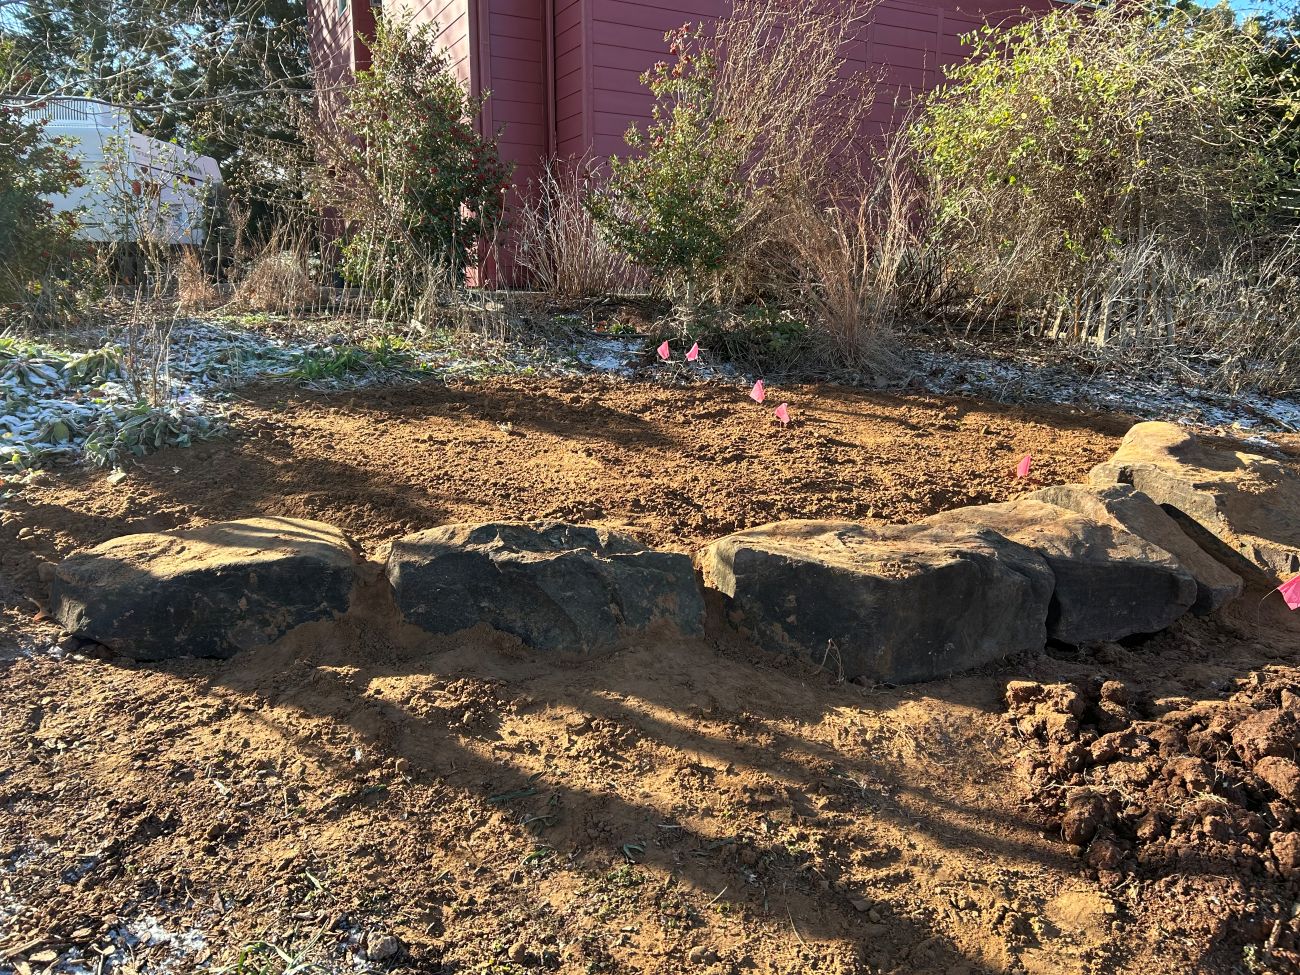
Depending on your garden goals, you may wish to simply stabilize a troublesome slope, or you may want to increase the planting area. These considerations will help you design the best possible solution. I took a hybrid approach in my own garden to create both a terraced upper planting area using large boulders and a naturalistic outcropping along a slope. Insights from natural outcroppings helped me plan both sites.
See More Midwest Regional Reports
Learn from Nature
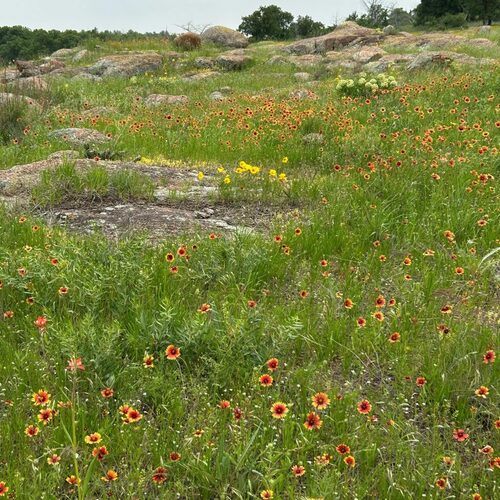
Before you start planning your rock garden, take the time to study rock outcroppings, slopes, and other rocky sites in your area, taking note of the types of rock, natural layout of large boulders, and plants commonly found in these sites.
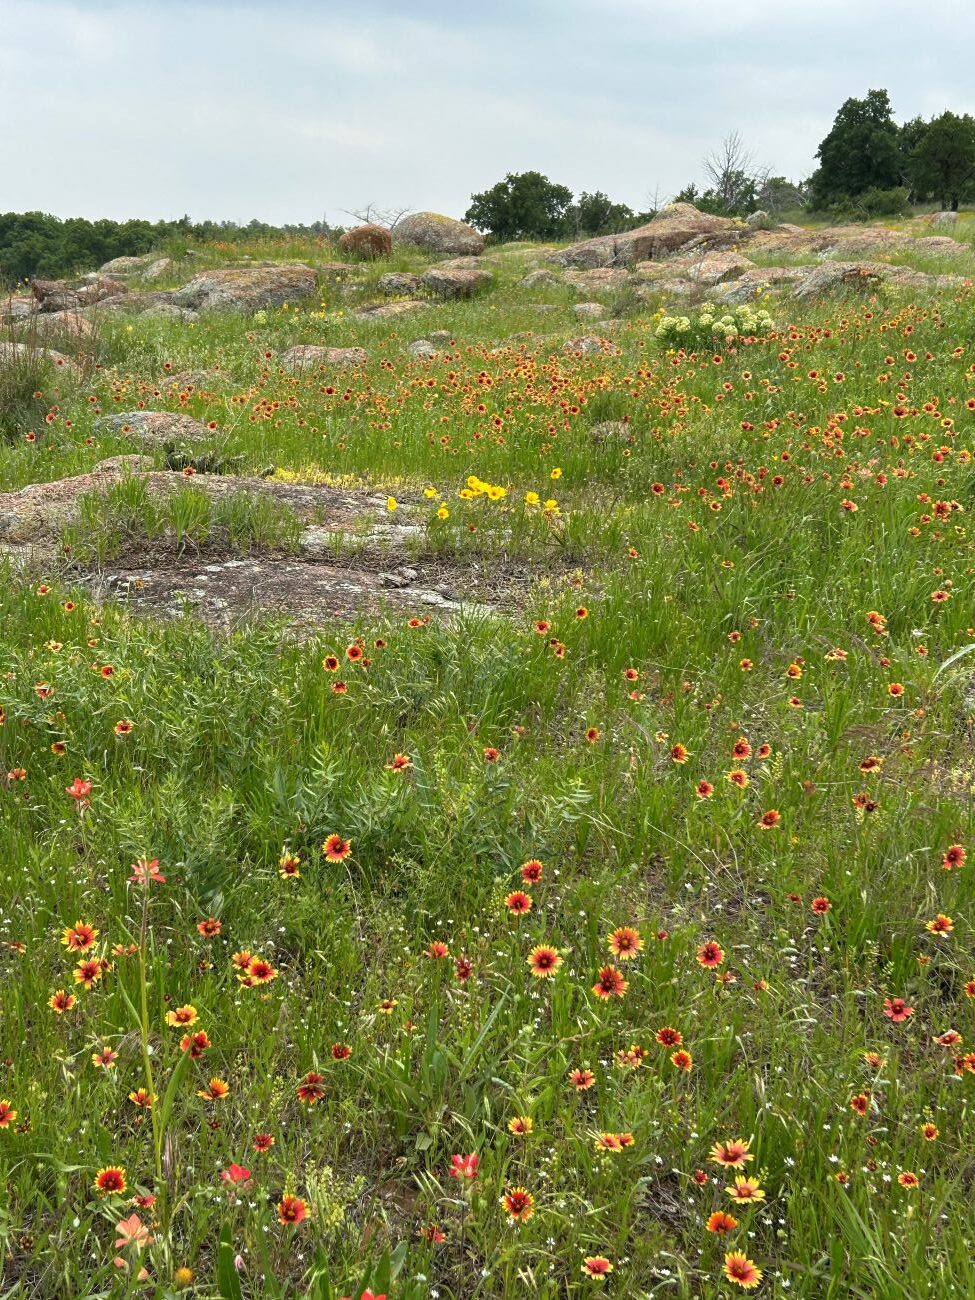
When you look at rocks in nature, you can see the distinct layers of sediment that formed the rocks over geologic time. These layers, called strata, typically run horizontally or close to horizontally. When working with visibly stratified stone, set each boulder with its strata running roughly horizontal rather than vertical to the ground plane to mimic this natural arrangement.
You will also see similar layers of stone running in broad lines across the slope, creating an almost shelf-like appearance as they climb its length. These shelves step back into the slope as you work toward the top. To create a rock garden that looks like a natural part of the landscape, mimic these patterns.
Envision the Design for Your Rock Garden
While there is no one-size-fits-all method for creating rock gardens, there are techniques and design considerations that apply to any setting. After studying nature, you are ready to evaluate the slope you are working on to stabilize and apply the lessons you learned.
Identify the steepest sections along your slope. This is where large boulders will provide the greatest benefit. Also note the aspect, or angle, of the slope. This will help you identify the primary “face” of the slope where, in nature, the ground would be most weathered to reveal the stones hidden below. Take the time to mark key locations along the slope with flags or paint where you envision the most prominent outcroppings of stone.
Give your rock garden strong visual lines and layers by placing a few large boulders in short, loose “rows” at different heights along the slope, focusing on the key areas you marked. Stagger these along the slope, marking the general outline of each grouping with flags or paint. Leave gaps to emulate places where rock has broken free or weathered away. Incorporate stones of various sizes for a more natural appearance. Smaller boulders can be used between the stronger lines to echo the presence of stone that has tumbled downhill.
Once you have everything marked, you are ready to prepare the site.
Prepare and Place the Stone
Setting rocks is an artistic process and one that takes time. Do not expect to get everything perfect right away. Start by selecting a stone material commonly found in your area. Size the stone in proportion to the site.
When stabilizing a large slope, it is ideal to source very large boulders and plan for the proper equipment to move them. I used a skid steer, but you can also hire out this part of the process.
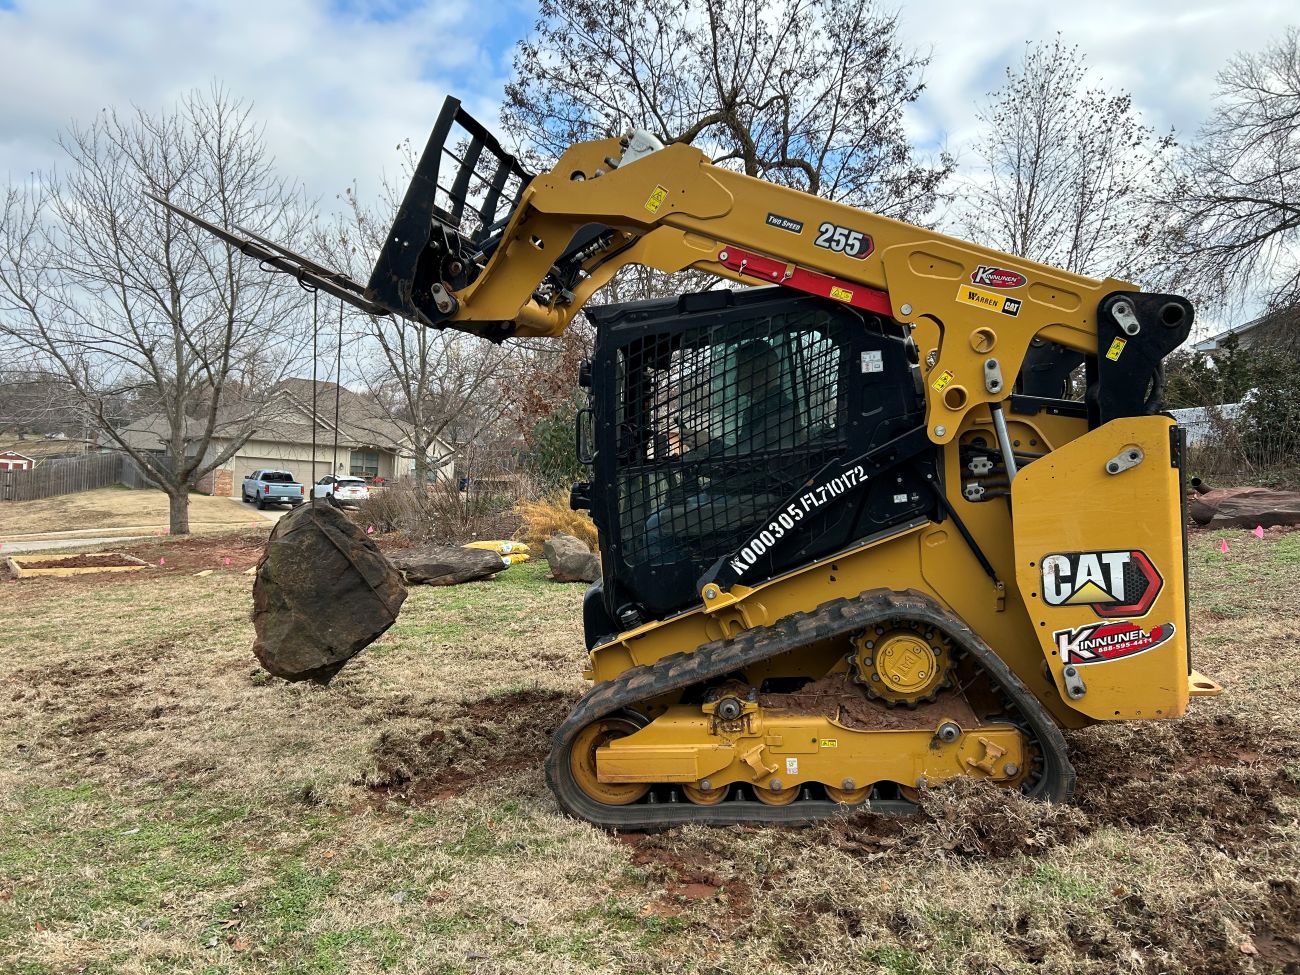
When setting individual stones, bury at least one-third of the boulder below ground. This gives the impression that the earth has weathered away from around the stone, exposing it over time. You will need to excavate an area where each boulder will sit, creating a sort of shelf. When working with very large boulders, it helps to measure the stones you have available and plan for their location before moving them. These measurements will also determine the size of the shelf needed for each stone.
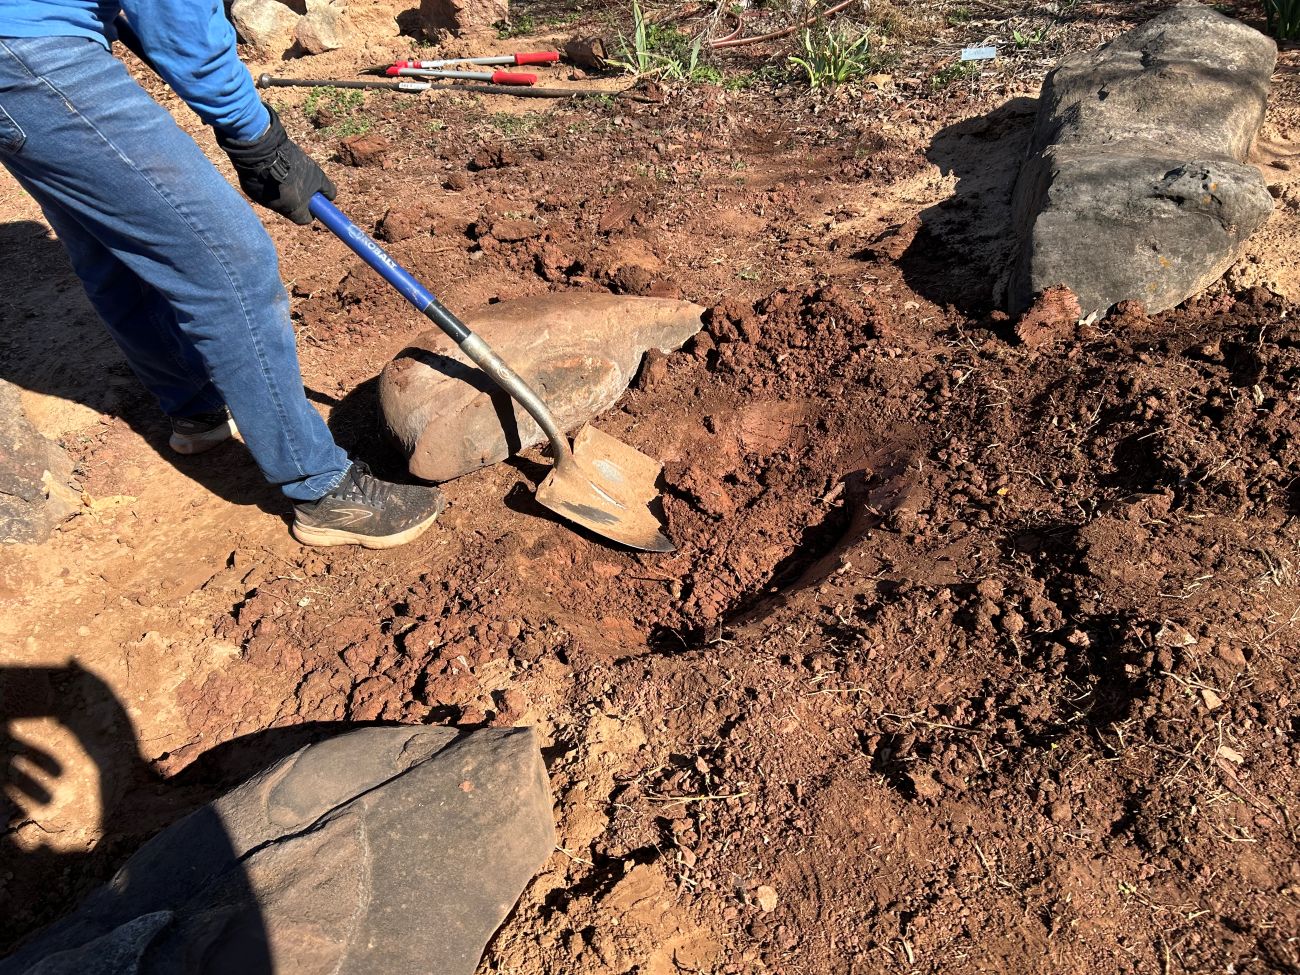
Now you are ready for the initial “rough” placement of the stones. When setting stone, there is a fair bit of fine-tuning once the boulders are in place. The initial placement will not be precise. The boulder shelf may be too low or too high, or the stone may need to shift forward, backward, or from side to side. Because we are working with large, heavy stones, we need a system that allows for smaller adjustments once the initial placement with equipment is complete.
To fine-tune stone placement, I use a heavy-duty pry bar, commonly called a San Angelo bar or digging bar, and a fulcrum. Rather than set the boulders directly on their shelves with the skid steer, I place two or three short sections of 2×4 lumber on the shelves and set the boulders atop them.
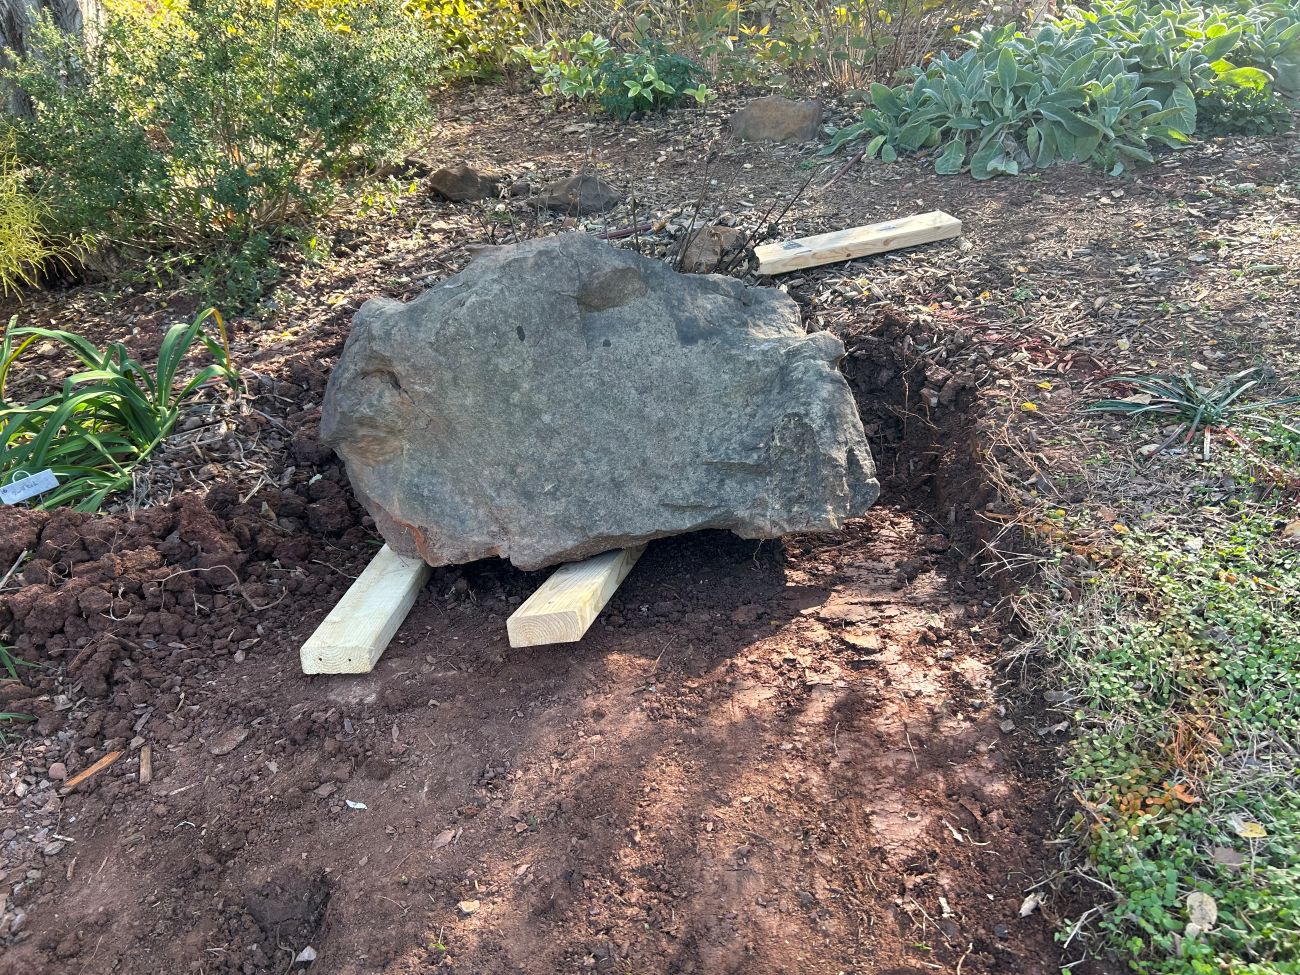
Then, using the pry bar and a 4×4 block of wood as a fulcrum, I can tilt, twist, and otherwise fine-tune the placement of each stone relative to its neighbors, adding or removing soil where needed. Once the rock is properly sited, I remove the 2x4s and fill the space in with soil, compacting it around the base of the boulder.
Although you will likely plant and otherwise finish your rock garden, strive for the arrangement of stone to look aesthetically pleasing all by itself. This will ensure the garden looks good throughout the seasons, including when some plant material may be dormant. Also plan for intentional gaps where plants can be tucked.
Remember to place visibly stratified stones with their layers running more or less horizontally. Setting them at a slight angle rather than perfectly level will lend a more natural appearance. Tilt boulders with flat tops slightly backward into the slope. This encourages water to move back toward the hillside rather than quickly running across the stone and downhill.
Put Plants to Work in a Rock Garden
After the stones are in place, additional soil may be needed to finish the garden. A mix of soil, coarse sand or pea gravel, and compost can be adjusted as needed to accommodate the plants you intend to grow.
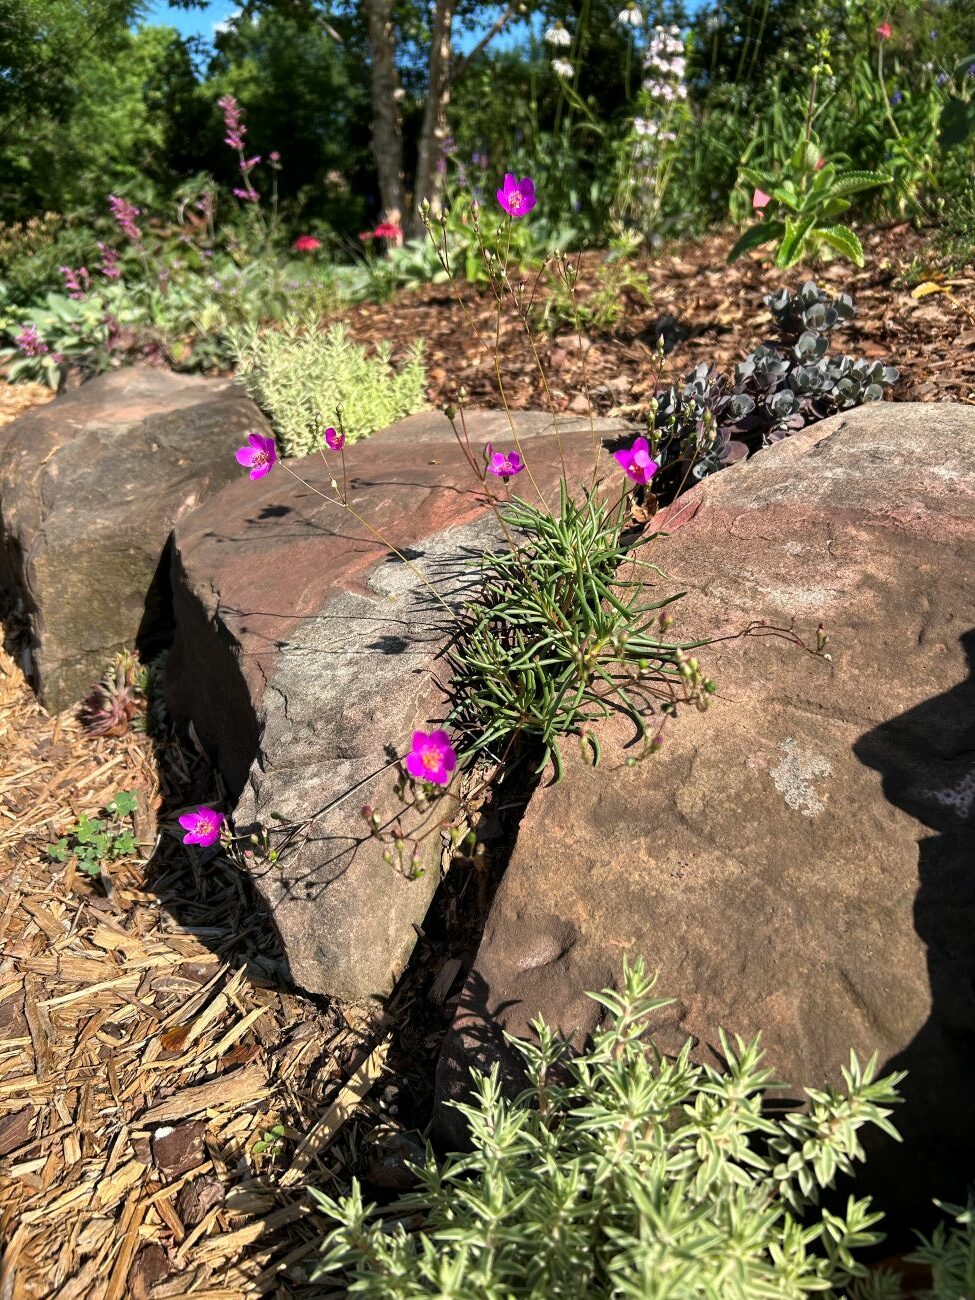
Planting the rock garden with a variety of low-growing ground covers, grasses, succulents, and evergreens will enhance the erosion-control benefits. Plants with fibrous roots systems are particularly helpful for holding soil in place. Finish the rock garden with 1 to 2 inches of stone mulch in a color that complements the larger boulders.
Work Safely with Large Boulders
Setting giant boulders is a huge task. Use good judgement and know when to ask for help. Always wear proper safety equipment when working with boulders, including steel-toe boots, leather gloves, and long pants.
Many rocks are larger and heavier than they appear, as portions are often hidden below ground. Use appropriately sized machinery whenever possible to move large boulders. If using lifting straps, make sure they are properly rated for the load and follow the equipment manufacturer’s recommendations for lifting and moving stone.
While they are difficult to work with, large boulders give the finished garden a more permanent, natural appearance and complement a wide variety of plant material. They make for an impressive display and are well worth the effort and expense of installation.
More gardening ideas from Kim:
Discuss this article or ask gardening questions with a regional gardening expert on the Gardening Answers forum.
And for more Midwest regional reports, click here.
Kim Toscano is a horticulturist, entomologist, garden designer, writer, and graphic designer. She previously hosted Oklahoma Gardening, a weekly PBS television program produced by the Oklahoma Cooperative Extension Service.
Photos: Kim Toscano
Fine Gardening Recommended Products
Buffalo-Style Gardens: Create a Quirky, One-of-a-Kind Private Garden with Eye-Catching Designs
Fine Gardening receives a commission for items purchased through links on this site, including Amazon Associates and other affiliate advertising programs.
Buffalo-Style Gardens is a one-of-a-kind, offbeat garden design book that showcases the wildly inventive gardens and gardeners of Buffalo – and offers readers “the best of the best” ideas to use in their own small-space gardens.

Attracting Beneficial Bugs to Your Garden, Revised and Updated Second Edition: A Natural Approach to Pest Control
Fine Gardening receives a commission for items purchased through links on this site, including Amazon Associates and other affiliate advertising programs.
This revised and updated edition of Jessica Walliser’s award-winning Attracting Beneficial Bugs to Your Garden offers a valuable and science-backed plan for bringing balance back to the garden. With this indispensable gardening reference—now updated with new research, insights, and voices—learn how to create a healthy, balanced, and diverse garden capable of supporting a hard-working crew of beneficial pest-eating insects and eliminate the need for synthetic chemical pesticides.
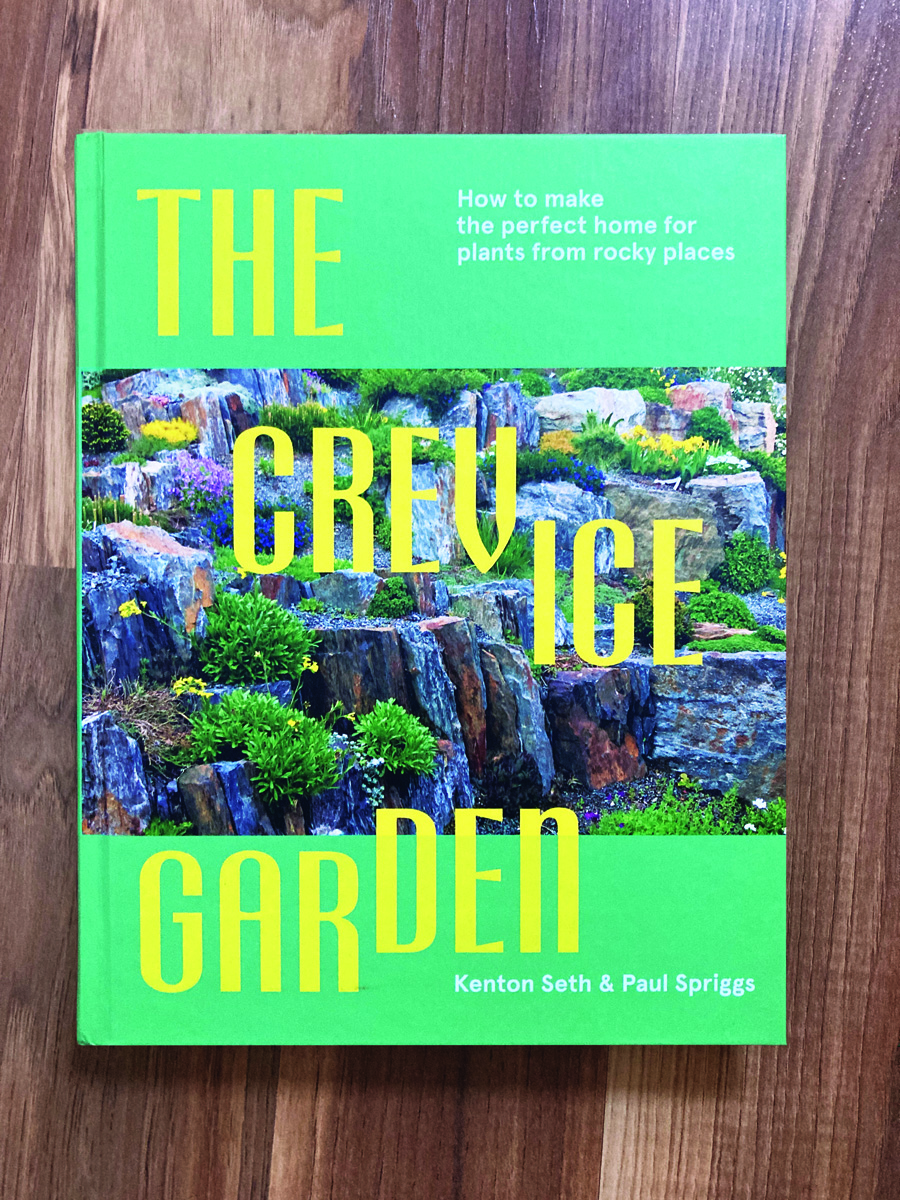
The Crevice Garden: How to make the perfect home for plants from rocky places
Fine Gardening receives a commission for items purchased through links on this site, including Amazon Associates and other affiliate advertising programs.
A crevice garden replicates the environmental conditions of mountain tops, deserts, coastlines, and other exposed or rocky places on earth. These striking garden features provide perfect conditions for the plants native to these far-off places, bringing the cultivation of these precious gems within everybody’s reach.